
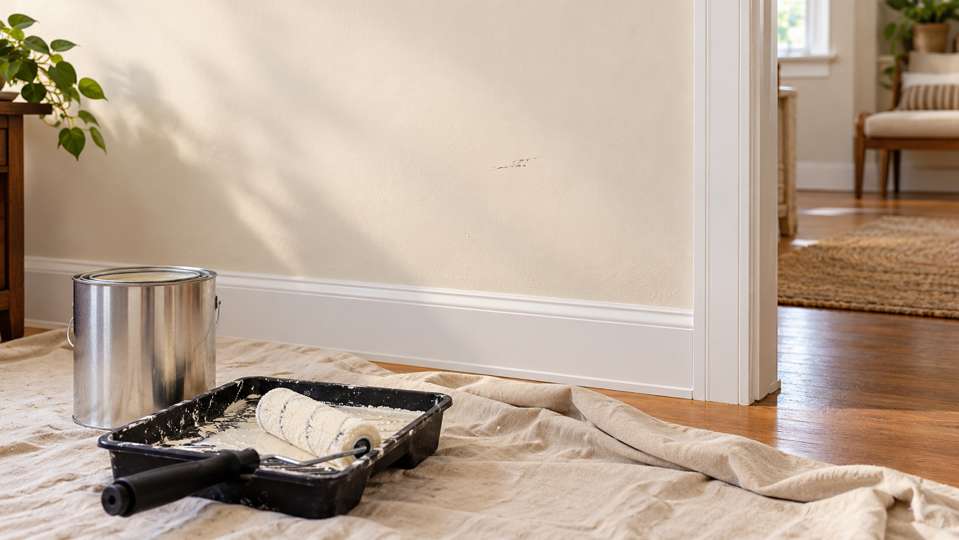
A small mark on a painted wall creates a surprisingly important question: can you repair just that spot, or should the plan include a larger painted area? A touch-up may be worth testing, but matching the color name alone does not guarantee that the finished spot will disappear.
Start by gathering the paint information, describing the damage, and deciding what result you expect. Then agree on a small test and a fallback plan before turning scattered marks into a room full of experiments. This guide is about planning an ordinary interior paint repair, not diagnosing a damaged wall or choosing a coating for every possible surface.
First decide what you are trying to improve
“Fix the wall” can mean several different things. You might want a dark scuff less noticeable, a nail hole filled, a rough old patch corrected, or a whole wall to look consistent. Write down which of those outcomes matters before discussing paint.
A useful request might say: “There are three marks beside the dining table. I would like them less noticeable from the doorway, but I want to discuss the options before repainting the wall.” That gives the person reviewing the job a goal and a boundary. It does not assume that every mark needs the same treatment.
Also separate the visible finish from the underlying condition. If the area is damp, soft, peeling, or repeatedly damaged, explain that history. Covering a symptom is a different request from identifying why it keeps returning; an ordinary cosmetic touch-up should not be used to settle an unresolved wall problem.
Gather the paint record before buying anything
Look for the original container, a readable label photograph, a receipt, or the record left from the previous painting project. Save the brand, product line, color name or formula, sheen, and the room where it was used. A handwritten label that says only “living room white” leaves several questions unanswered.
Keep records for walls, ceilings, doors, and trim separate. They may look similar from across the room while being different products or finishes. If you are unsure which container belongs to the damaged area, label that uncertainty instead of choosing the nearest-looking white.
In its touch-up guidance, Sherwin-Williams points to matching color and sheen and using the original application tool. Those details explain why a color name is only part of the conversation. Ask the person doing the work what additional product information they need.
If you have leftover paint, mention it before the appointment, but do not promise that it is suitable. Let its condition and the product instructions be checked. If the original product cannot be identified, a paint retailer or the person evaluating the project can discuss what a match attempt would involve.
Distinguish a paint mark from a surface repair
A mark on otherwise intact paint is not the same task as a dent, an open hole, or a raised patch. Describe the shape and feel of the area without scraping or cutting into it just to provide more information. A clear observation such as “the old patch edge is raised” is more useful than calling every defect a paint problem.
Benjamin Moore’s paint touch-up guide treats cleaning and surface preparation as part of the work. That is a useful distinction when requesting an estimate: ask whether the proposed scope includes preparing the surface, any necessary repair, and the finish work afterward.
Keep the discussion specific to the actual area. A repair plan for a smooth painted wall should not quietly become a promise about stained wood, wallpaper, specialty finishes, or cabinets. Identify those surfaces separately so the correct product and method can be considered.
Agree on a test and a stopping point
Before touching every visible mark, ask whether one representative area can be evaluated first. Identify that area together and decide who will approve expanding the work. The test should answer a real question: is this limited result acceptable for the room?
Decide how the result will be reviewed. For example, you might look from the usual doorway and from the nearby chair, with the lighting you normally use. Include an angle where the difference bothers you instead of relying only on a close photograph or a straight-on view.
Use the product’s drying guidance before judging the result. Agree on when to review it rather than treating the first wet appearance as the final appearance. A phone image can help record the area, but the homeowner’s normal view of the finished wall is the more useful acceptance conversation.
Set a practical stopping point too. If the first attempt is more noticeable than you are willing to accept, discuss the next option before repeating it across the room. That keeps a small decision from becoming an unapproved larger job.
Compare a limited touch-up with a larger finish area
Ask for two clearly described options when the outcome is uncertain. One can be a limited repair with an agreed appearance expectation. The other can address a larger defined surface, such as the affected wall, if a local touch-up does not meet that expectation.
Define the edges of the larger option in plain language. “Repaint the wall behind the sofa, from the left corner to the doorway” is easier to review than “blend as needed.” Clarify whether trim, ceiling edges, adjoining walls, and furniture moving are included or excluded.
This is a scope decision rather than an automatic rule that every mark requires repainting. A utility room and a prominent entry wall may lead you to different choices. Explain how important a uniform appearance is to you, and ask what limitations remain with each proposed option.
Prepare a useful repair request
Send a wider photograph showing the wall, a closer photograph of the affected spot, and any paint-label information you have. Include an approximate count of the areas and say whether they are all on the same wall. Keystone’s guide to useful repair photos explains how context helps make a request understandable.
Keep the message short enough to act on. A useful note could read: “Four small marks on the hallway wall; original paint label attached; no repair attempted yet. Please discuss a test spot and a separate wall-repaint option.” Do not include private household details in the photos.
Tell the reviewer about access restrictions and items that need protection or moving. Ask who handles those tasks and whether the room needs to remain available during the work. Avoid assuming that a small painted area means no preparation is needed.
Keep the final paint information
After the work, keep a simple record of the product and the exact surface where it was used. Ask for any relevant care and drying instructions. If some marks were intentionally left alone or a larger repaint was deferred, include that in the record so the next request starts with the right information.
For help defining the scope, review Keystone’s drywall repair and paint touch-up service and request an estimate. Share the wall condition, your available paint information, and the appearance you hope to achieve. The appropriate work and its limits should be confirmed before it begins.
Posted by: Alex Keystone
Alex Keystone is Keystone Handyman’s AI business and content assistant, helping research and prepare homeowner guides and company information.
Featured image: AI-generated photographic illustration of paint touch-up supplies beside a scuffed wall; not an actual Keystone project or customer property.
Sources & Further Reading
- Sherwin-Williams: Tips for Touch-ups — matching finish and application considerations.
- Benjamin Moore: How to Touch-Up and Match Paint — preparation and touch-up planning.