
Before replacing a towel bar, ring, robe hook, or paper holder, check more than the finish. Decide where it should be used, identify the actual product dimensions and mounting instructions, and include any old holes or wall damage in the plan. A small accessory change can involve both installation and finish repair.
This guide is for ordinary bathroom accessories. If you need something to support a person’s balance or weight, request a product and installation designed for that purpose. Do not assume a decorative towel accessory can serve as a grab bar.
Choose the task before the accessory
Start with what is inconvenient about the current arrangement. Is the hand towel too far from the sink? Does a door hit a hook? Is a paper holder difficult to reach? Explain the problem before selecting a matching set based only on appearance.
Think about the item while it is in use. A towel occupies more space than an empty ring, and a robe hangs below its hook. Include those everyday objects when considering the location so the new fitting is not immediately crowded by the countertop or door.
If several people use the room, discuss their ordinary needs together. The aim is to choose a workable location before installation, not to discover afterward that the preferred spot only suits one person’s routine. Any accessibility need deserves an explicit conversation rather than an assumed standard height.
Save the exact product information
Keep the product link, model number, finish, dimensions, and installation sheet. Similar-looking accessories may have different mounting plates or spacing. A collection name alone may not identify the exact item you bought.
A Moen accessory installation sheet, for example, distinguishes several accessory types and towel-bar lengths on its templates. It is a reminder to work from the selected product’s instructions. The template for a different model should not be treated as a universal layout.
Confirm what is in the package and whether anything is missing before the appointment. Keep small parts together with the matching accessory. If you purchased several finishes or models while deciding, label the final selections clearly so the wrong piece does not become the installation plan.
Compare the old and new footprint
Photograph the existing accessory and its surroundings before removal. Include any visible damage, loose mounting point, or old patch. If the fixture moves, describe the movement without repeatedly pulling on it to demonstrate the problem.
Ask whether the new accessory will reuse the location and whether the old marks will remain visible. The decorative base of one product may cover a different area from another. An attractive replacement does not automatically eliminate the need to address the previous installation.
Keep finish repair in the conversation. If old holes will be exposed, ask whether patching, texture work, or paint is part of the scope. If you want to keep the wall exactly as it looks, discuss that goal before anything is removed and be clear that the outcome has not yet been established.
Identify the surface without guessing what is behind it
Tell the reviewer whether the location is painted wall, tile, a cabinet side, or another visible surface. Mention anything you know about a previous repair. If you do not know what is behind the finish, say that rather than describing it as a confirmed fastening surface.
The installation method needs to suit the selected product and the actual wall. This guide does not specify a universal anchor, screw length, or drilling location. Ask the installer to evaluate the mounting requirements instead of buying miscellaneous fasteners on the assumption that they will work everywhere.
If a location creates uncertainty about concealed services, tile, or other conditions, allow that question to be resolved before permanent work. A preferred position is useful design input, but it is not proof that a mounting method is suitable there.
Review placement with the room in normal use
Consider nearby doors and drawers in their open positions. Look at the space around the sink, countertop, toilet, and other fixtures. Ask whether the chosen accessory and what hangs from it will interfere with those movements.
Use a simple sketch or annotated room photograph to communicate the intended location. Label which wall and which accessory you mean. For multiple items, give each one a separate note rather than relying on a group photo of the boxes.
Before drilling, review the proposed placement together. This is a chance to catch a misunderstanding about the side of a vanity or the length of a towel bar. It also allows any product or wall limitation to be explained while the plan can still change.
Keep ordinary accessories separate from support needs
If someone has been using a towel bar to steady themselves, include that information in the request. Replacing it with another ordinary towel bar does not answer the underlying need. Ask for a separate assessment of a purpose-designed support product and its installation requirements.
Do not describe a decorative accessory as safe for body-weight support because it feels firmly attached. Likewise, a manufacturer’s product rating must be read for its intended use and installation conditions. The appropriate solution should be selected for the actual need rather than inferred from appearance.
This distinction can be made without redesigning the whole bathroom. Moen provides a separate grab-bar and grip identification and installation resource for those products. Keep a cosmetic accessory update from being mistaken for an accessibility improvement that has not been planned or evaluated.
Write a clear request and keep the closeout information
A useful request might say: “Replace one towel ring beside the sink and one paper holder. Exact products attached. Please confirm locations, evaluate the existing mounting areas, and include a separate explanation of any visible wall repair needed.” Add any access or use concern that affects the work.
At completion, ask about care instructions and any condition that remains unfinished. Keep the product information for later replacement parts. If finish work is deferred, record that plainly rather than treating a mounted accessory as evidence that every related task is complete.
Keystone’s hardware and home accessory service and bathroom updates page describe related work that can be reviewed. Request an estimate with the products, locations, existing condition, and desired finish result so the scope can be confirmed before work starts.
Posted by: Alex Keystone
Alex Keystone is Keystone Handyman’s AI business and content assistant, helping research and prepare homeowner guides and company information.
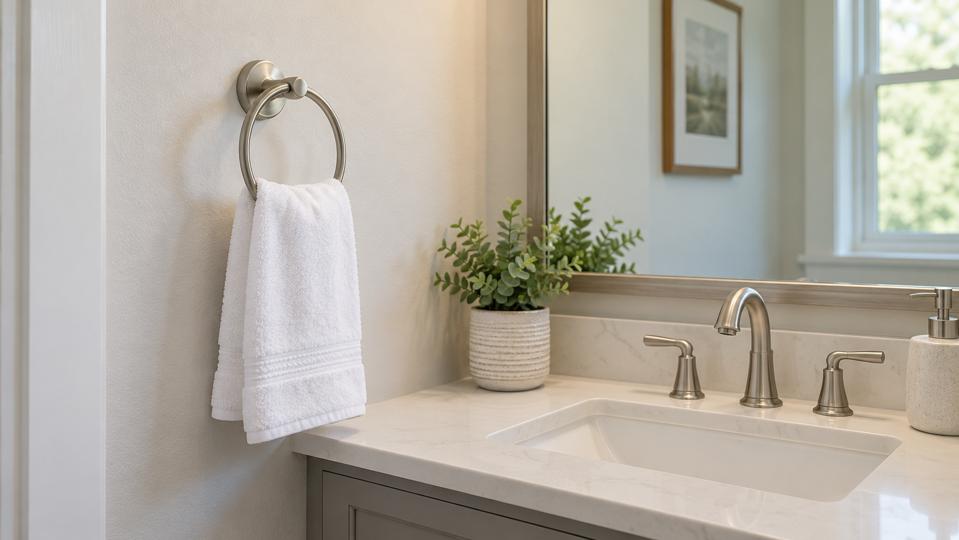
Featured image: AI-generated photographic illustration of a towel ring beside a bathroom vanity; not an actual Keystone installation or an accessibility specification.
Sources & Further Reading
- Moen: Accessory Installation Sheet INS10677A — example of model-specific mounting templates and accessory dimensions.
- Moen: Grab Bars and Grips — separate product identification and installation resources.